Blog posts

needle felting, needle felting workshop

Learning to felt

Using felting kits and trying to follow You Tube videos when learning to felt can be hard, sometimes you need to see it and be guided in person.

If you’re looking to learn how to needle felt, or you just like hares, or you want to treat yourself to an afternoon of therapeutic crafting, then you might like to know about the Hare felting workshop I am delivering at MerseyMade in Liverpool 1.

It’s on Saturday 30th September and it lasts for 2 hours starting at 2pm.

MerseyMade is a lovely venue with gift shop and cafe downstairs and artist studios (where you can look round and see people at work) and workshop space upstairs. So lots of lovely things to browse while you’re there.

We will be making hares with a choice of wools and designs. I like to encourage people to go their own way in what they create but if people just want to follow what I have made, that’s cool too.

You will pick up some tips and knowledge along the way to use in future projects, (and take home your felting needles).

Tickets are on Eventbrite, find my page on Needle felting workshops for the link. They cost £30 but please use code HARE10 for 10% off at checkout.

custom dogs, dogs, felting with fur

Dog fur or hair? What’s the difference?

When I started working with dog fur/ hair to create needle felted dog replicas, I became curious about the difference between dog hair or fur. What to call this new material I was working with, were those two words interchangeable? Was there a difference?

OK, so now I now there is a difference and I shall attempt to explain that in this post.

So there is no chemical difference between hair and fur, they are both made from keratin. They can however differ in texture and growth cycles.

Hair

Examples of dogs with hair include Poodle, Bedlington Terrier, Schnauzer Bearded Collie and Bichon Frise.

Hair can be straight, wavy or curly and generally feels smoother and finer. It tends to be longer and thicker than fur. Hair grows in a single layer rather than in a double coat and goes through a longer growth cycle. Because of this longer growth cycle, dogs with hair shed less frequently, this leads to people with allergies choosing them over dogs with fur, though this doesn’t always solve the problem! Dogs with hair might need more grooming (as in doggie haircuts) so that their hair doesn’t get too long.

Fur

Dogs with fur include Golden Retriever, Labrador, Newfoundland, Pomeranian

Dogs with fur have shorter growth cycles so they shed more frequently, this is so that they can change the thickness of their coat depending on the season. The fur is finer and denser than hair and often grows in a double coat with a coarser overcoat over the finer undercoat. This helps them to regulate their body temperature. So dogs with fur seem to be more adaptable to changing climates and weather. Their fur is shed before it gets too long so less visits to the dog salon!

So I now know more than I did and I hope you do too! If you want to get in touch about your dog or to enquire about my work with dog fur, I would love to hear from you!

Please use the contact page to get in touch!

Amanda x

custom dogs, felting with fur, needle felting

Felting With Fur – part 2

Hello, I absolutely love felting with fur! It opens up so many possibilities, and provides such as special felted keepsake for the animal’s owners.

For this dog replica I was lucky to have such a lot of fur to felt with, and it was so soft and feltable! This fur was from a much loved Japanese Spitz and the crimp of the fur very closely resembled the sheep wool I felt with.

Because of the quantity and texture of the dog fur I was able to start by felting a whole body and head from it. It might not have created as firm a shape as I can achieve from felting with wool but this fur certainly provided a good core as a base.

I felted the ears and the face.

The features were the only part of the dog that had to be created with wool. Once the ears and the face were completed, I set about gently building up the fluff to give the dog the shape needed for this particular breed.

And here he is, the finished dog, a very special make.

Please get in touch if you have any questions or custom requests or visit my Etsy shop here.

craft fairs, needle felting, Uncategorized

Makers Markets – a look at how far I’ve come and hopefully some tips for you!

Hi, looking back through my old blog posts I realised that I’ve come a long way since I last posted about markets and craft fairs!

Hopefully this post about how I have developed my display is useful, but my original post “How to Survive a Craft Fair” still has a lot of basic “good to know” tips for beginners so take a look at that too if you’re just starting out.

February and March 2023 saw me at two new (to me) fabulous and popular Markets in Liverpool, Good Market at Penny Lane and Mossley Hill Makers Market.

What have I improved on since the beginning?

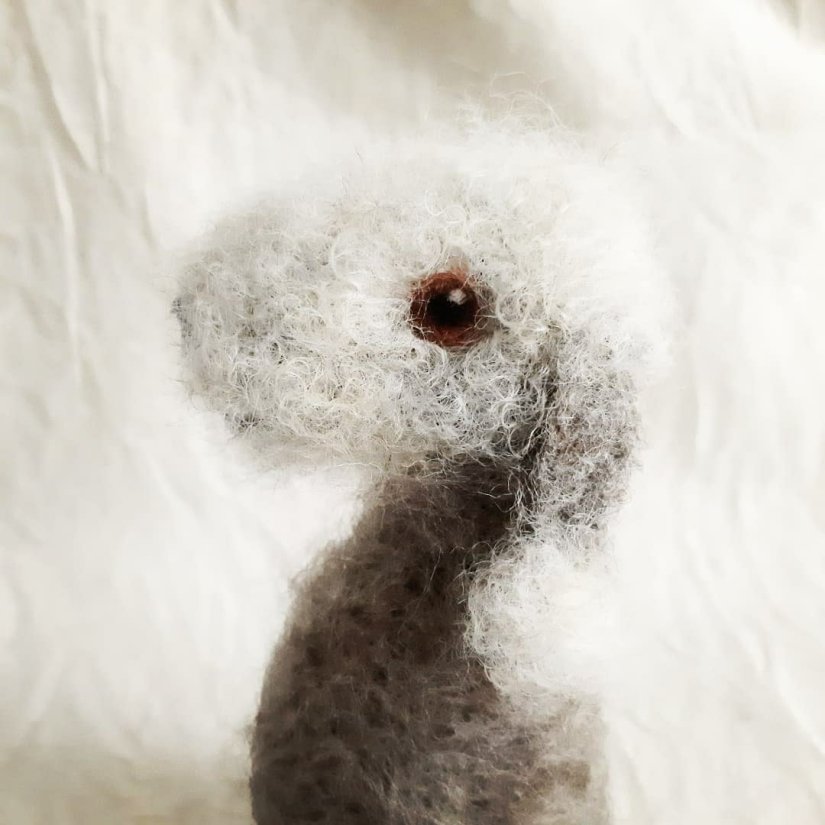
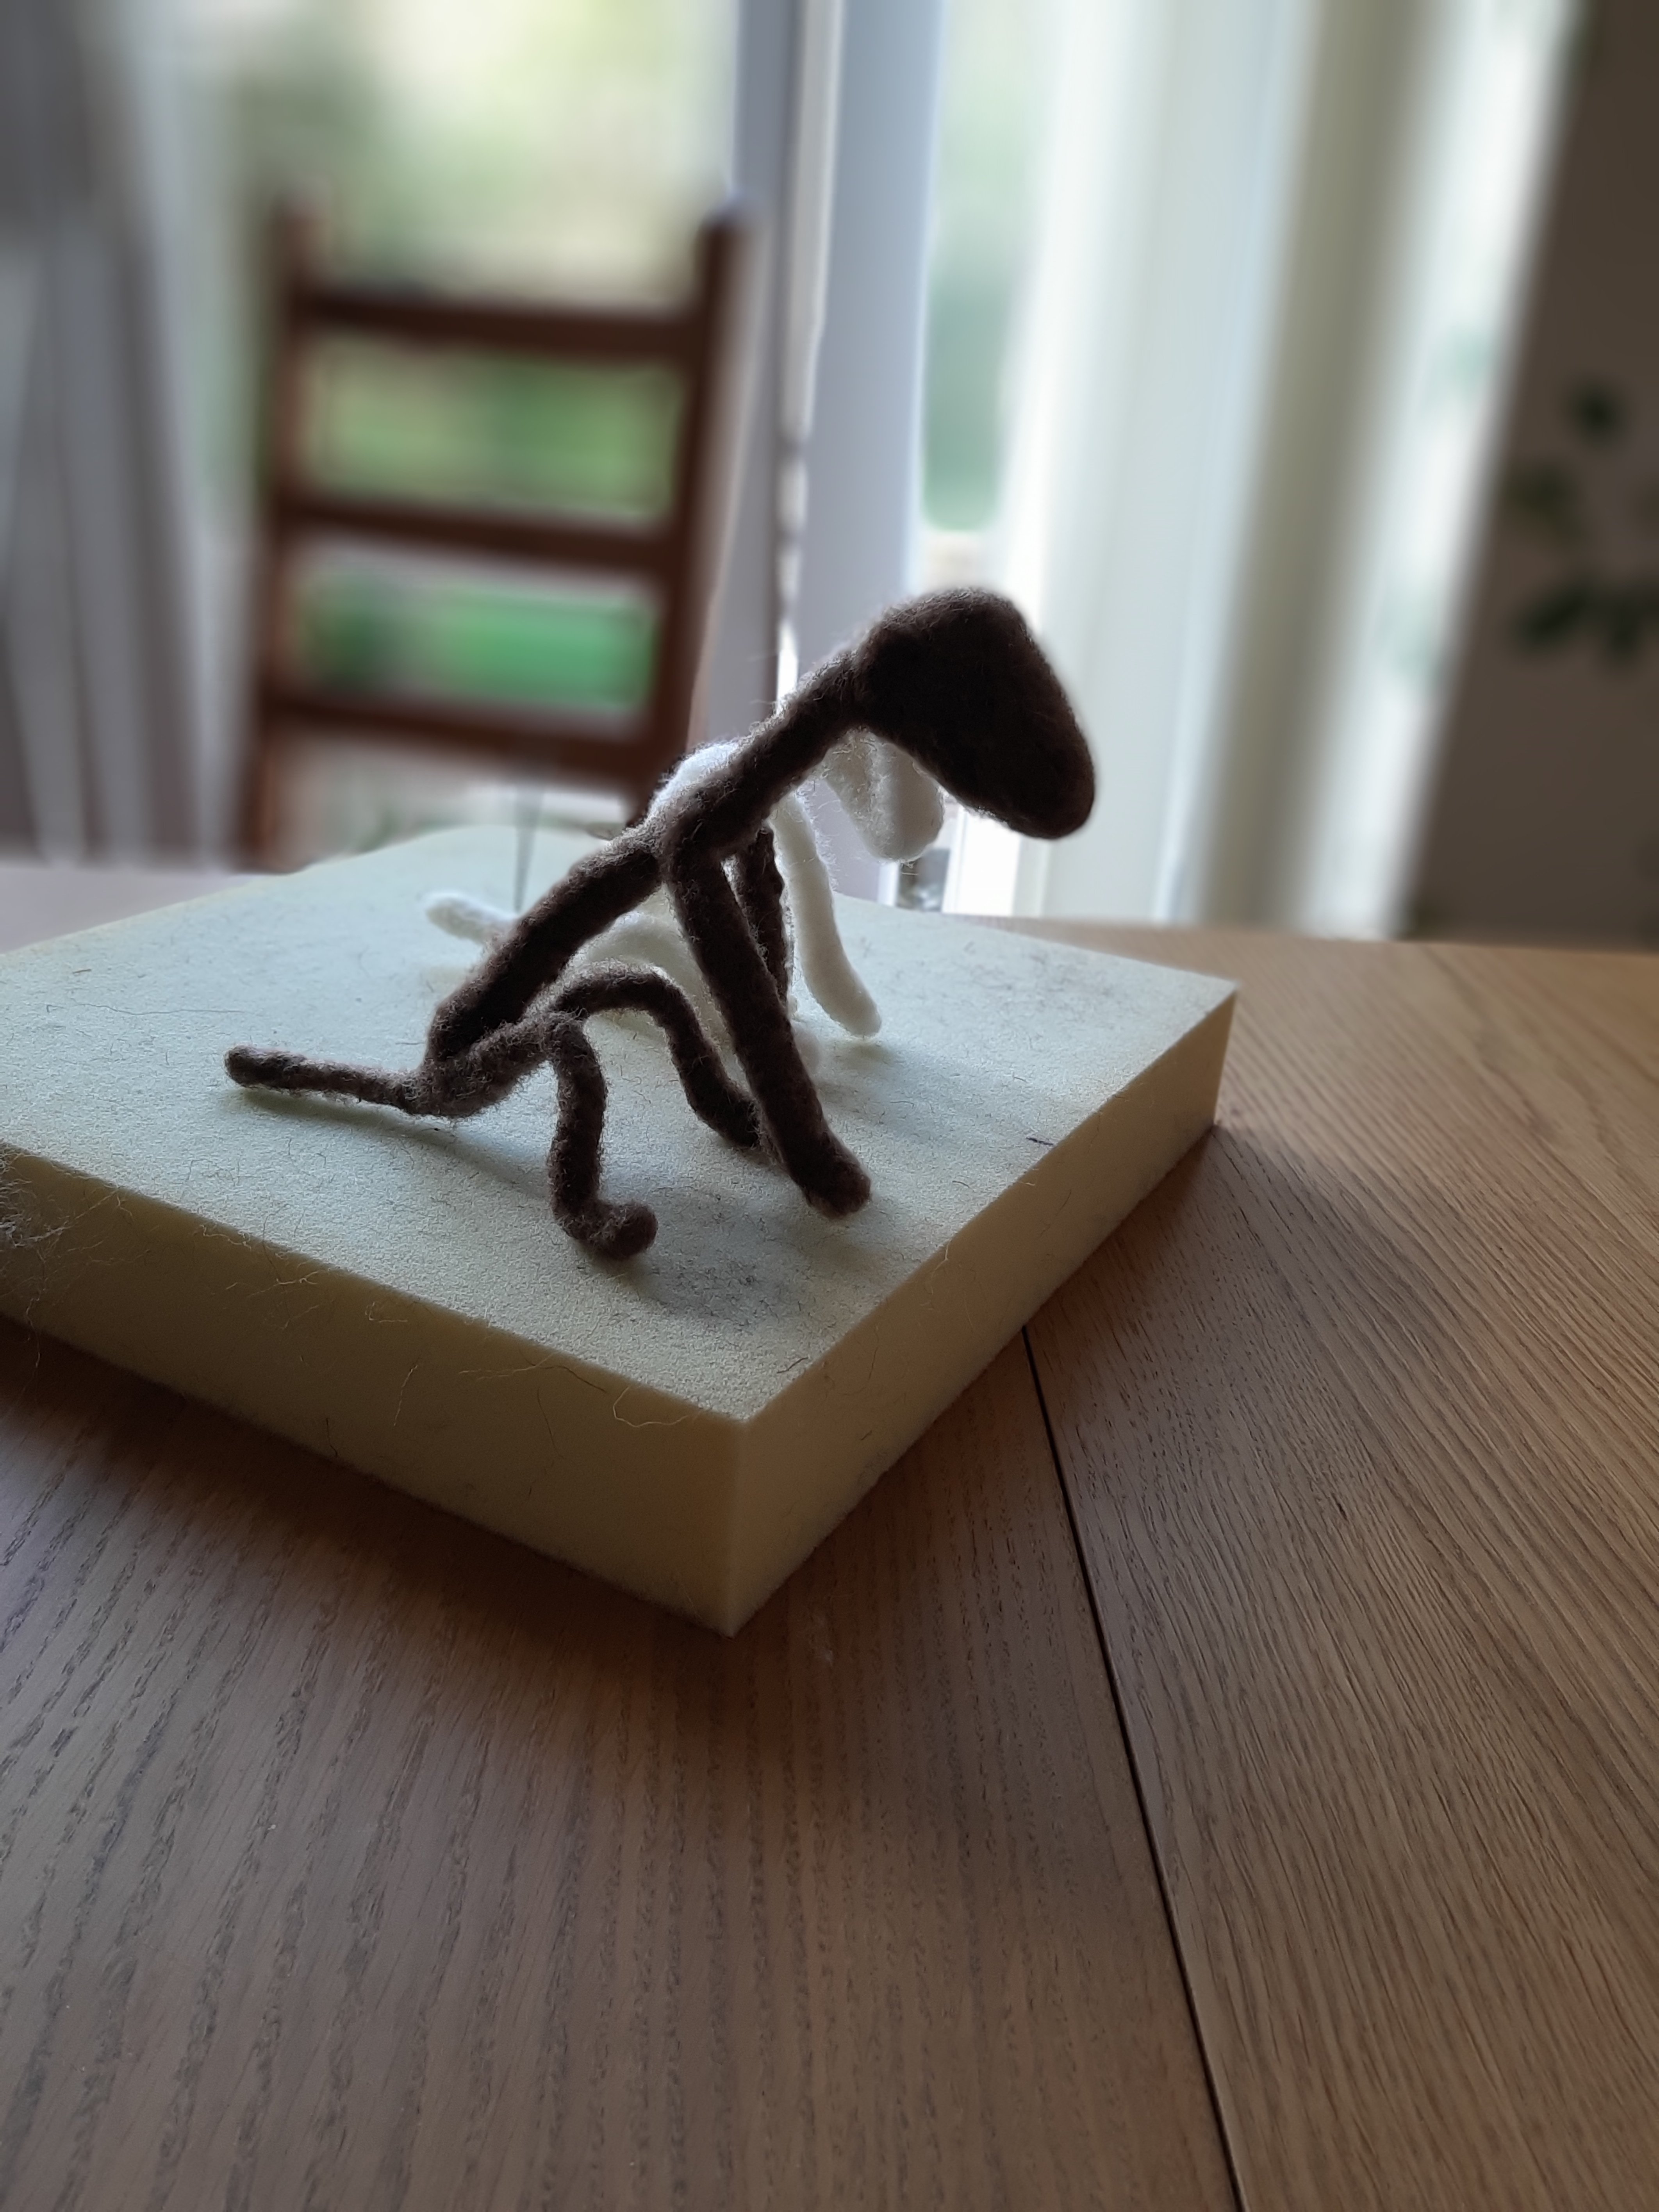
Apart from the obvious change in quality in my creations, the natural progression that is seen when you work at a craft for many years, the appearance of my stall has improved. Here are a few (useful I hope) tips based on things that I have learned since I started out.

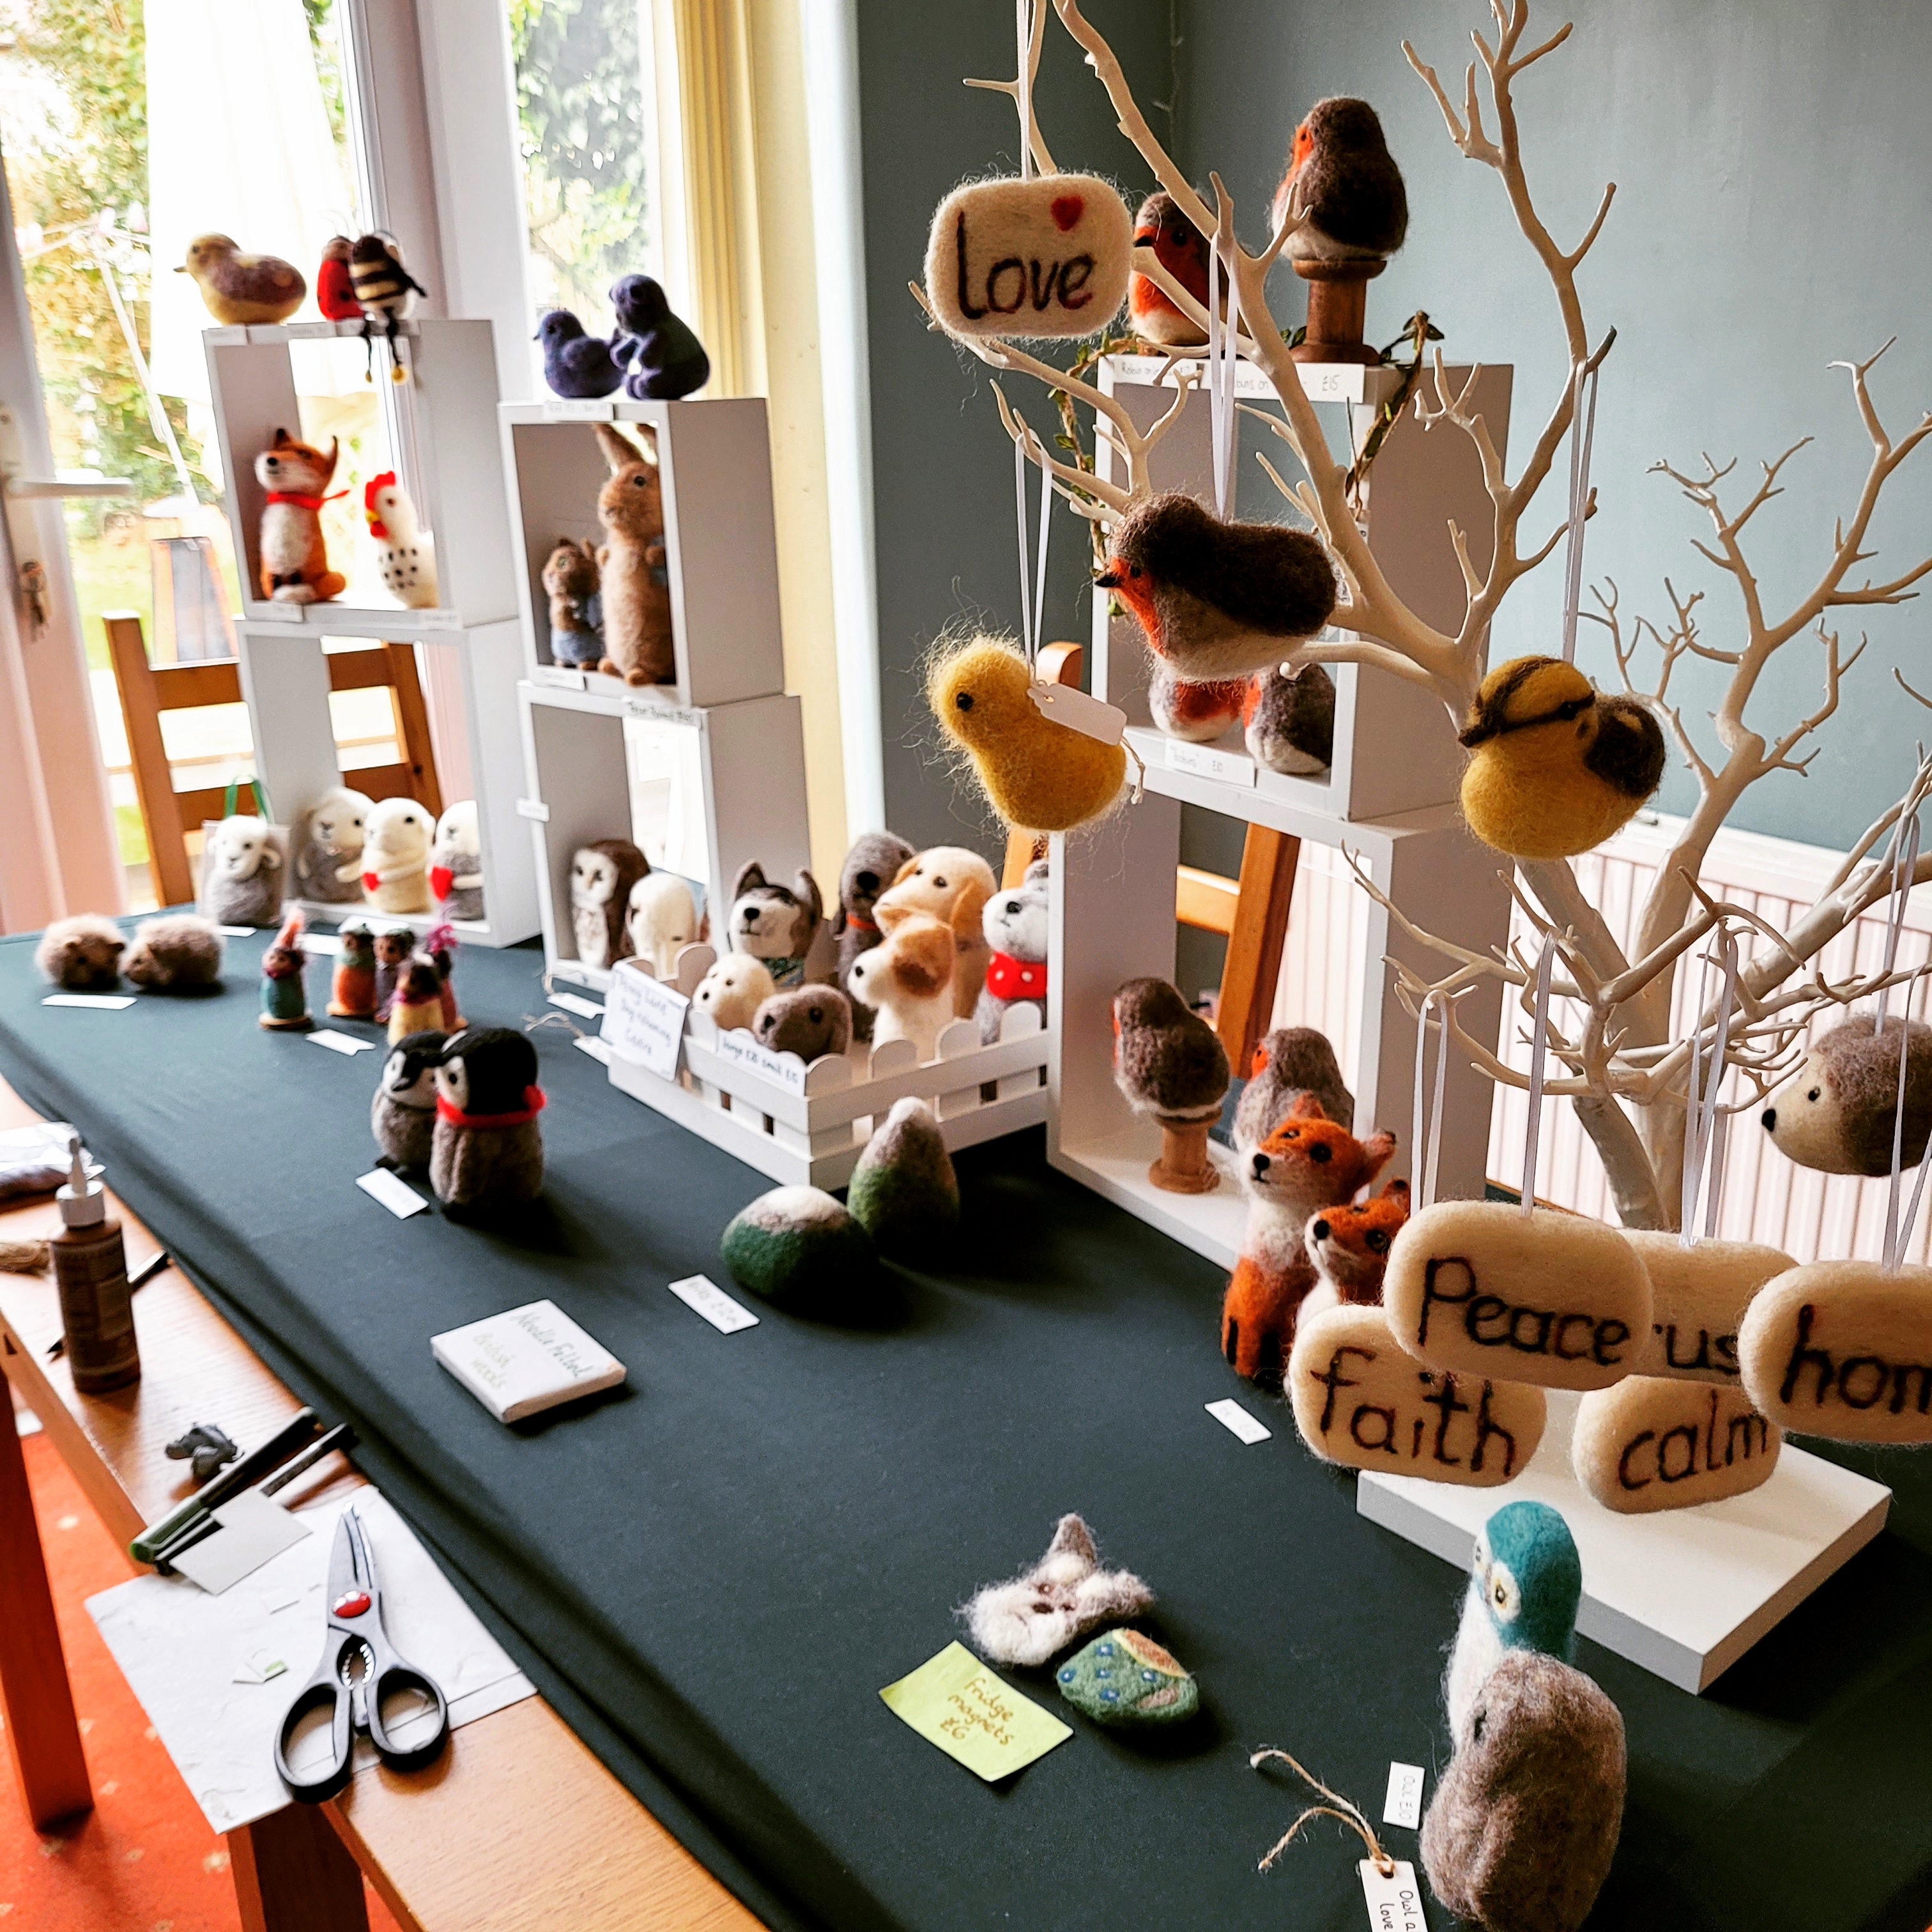
Display It’s good to have variety of height in your display. I have resourced and twiddled with boxes, shelf units and branches in my displays over the years to achieve variation in height so that some items are nearer eyeline. To keep a clean look, all my additions are white.

Think about investing in one of those stretchy table covers that helps to hide what you have stashed underneath the table. It can help your stall look more professional and together.

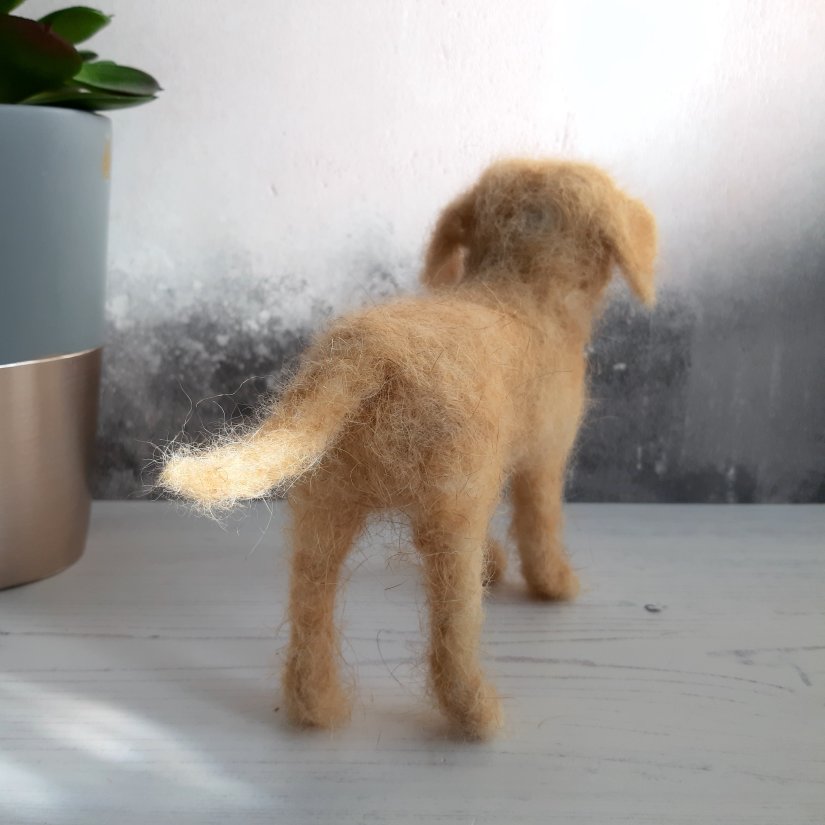
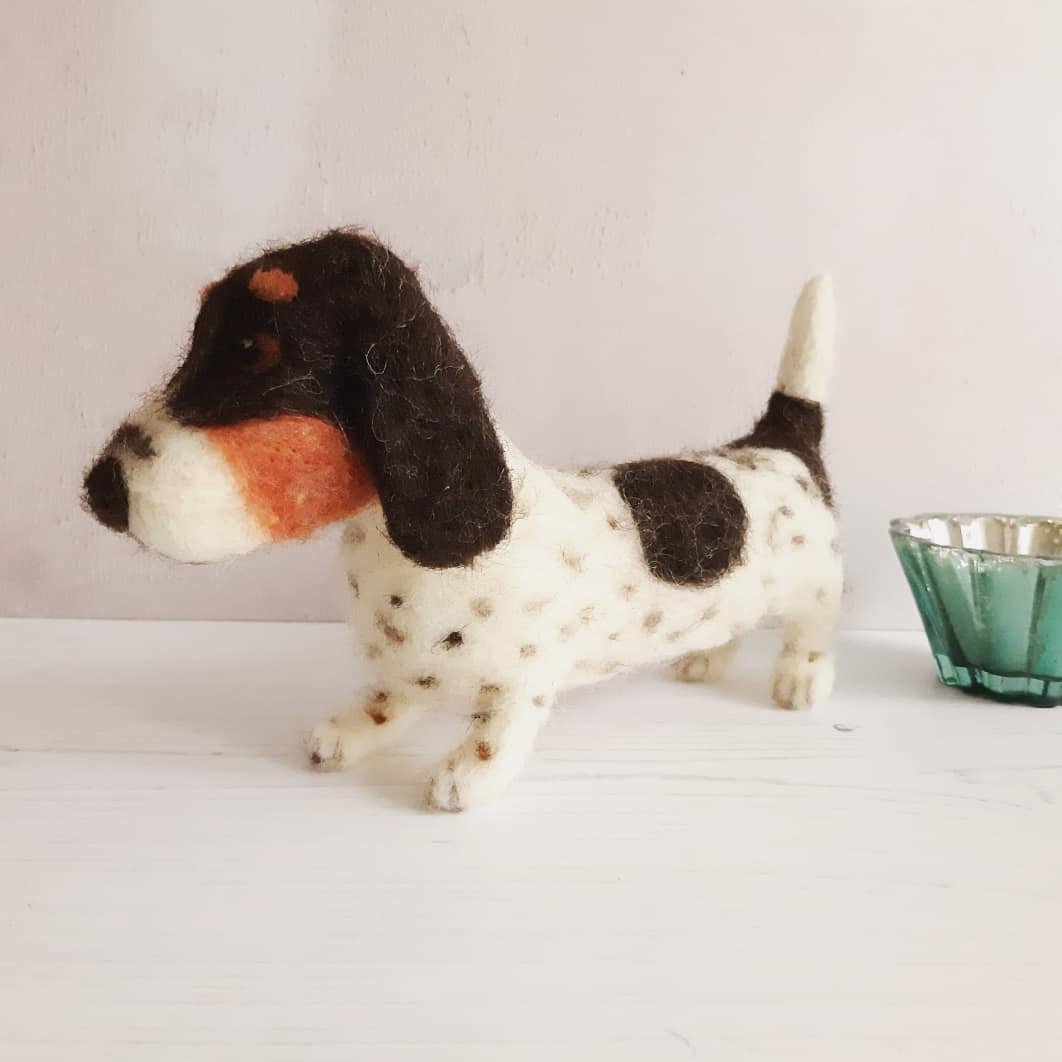
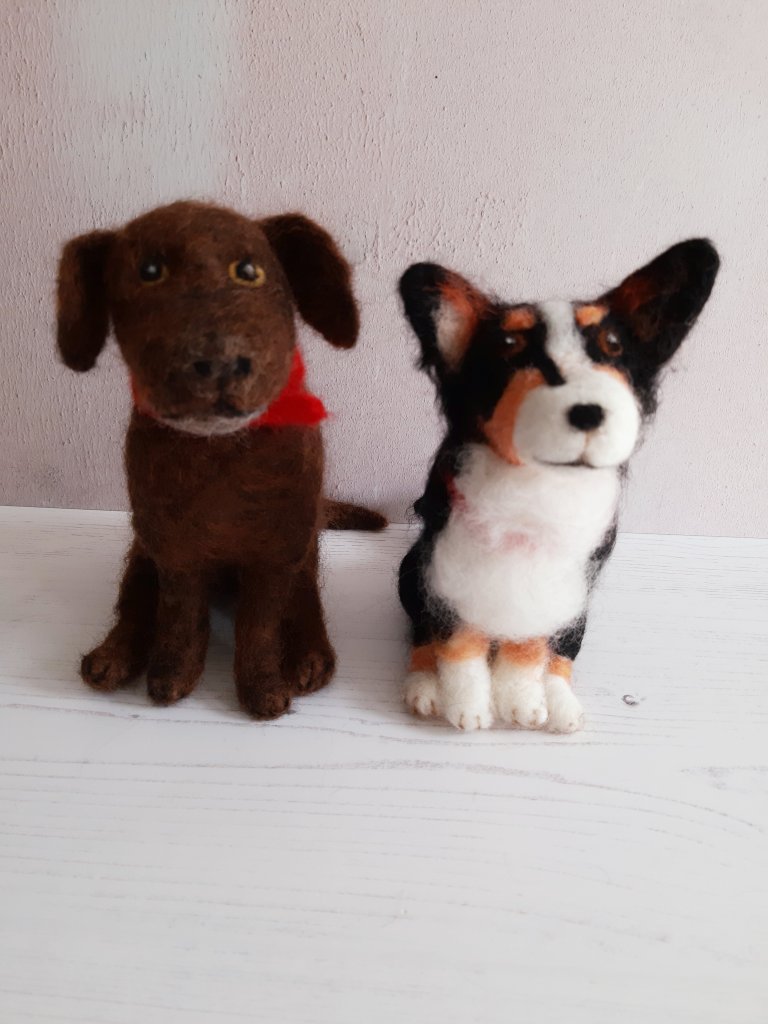
Have a display item that helps people stop and look. Have a talking point – I put some of my felted dogs in a small crate labelled Dog Rehoming Centre with the name of the area in front of the title. It makes people stop and smile and talk!

Don’t put too much out! Hold back from putting out everything you have ever made. It can make it too busy and confusing. Group in themes, keep it simple and pleasing to the eye. I have a box of additional items with me so that I can put extras out as items start to sell, or maybe change a couple of items part way through if something isn’t working. Watch what people look at, if some items just aren’t catching people’s eye, try something else. Use this craft fair as a chance to do valuable market research.

Practice your layout beforehand. If it has been a while since your last market, if you have a lot of new products, and definitely if it is your first ever craft fair, have a run through first. Measure out the space you will have on a dining table, workbench or even floor, and work out how what you will put out and where it will go for best effect. View it from different angles. Get a second opinion. Take photos! This can help you feel much calmer and more confident on the day.

Price points I have learned what items catch people’s eye and causes them to stop and look, and the sweet spot where they are likely to make a purchase.

You might have a quality item that took you hours to make and that you have priced accordingly, that might not sell in the venue you are in, but, it shows your talent and what you are capable of, and people will stop and see what else you have. They may just take a business card and bear you in mind for that special birthday or Christmas present.

Your sweet spot price point will vary according to the particular market, season and area. It might take you a while to figure out what it is, but when you do, aim to make lots of items at that price point. For me it meant thinking about my designs and how I could make items more quickly. But do have a range of prices, I sometimes have “stock clearance” type baskets with sale prices of items that I made a while ago and just have not sold. People do love a bargain and it will help you make your table cost back and clear some space at home!

Venue Before applying, do a bit of research first. What have previous markets been like, who has sold there and how have they found it? (Instagram posts and comments can help with this!) Is it indoors or outdoors? I know I could never have an outdoor stall as my items are so light they would blow away on a windy day!

It can be disheartening to have a stall at a fair with a very light footfall so how well advertised is it and is it in a busy area with lots of people about who are likely to pop in?

Future markets Popular markets have an application process and they may want to see what your usual display looks like. So when you are all set up and your stall is looking gorgeous, don’t forget to take lots of photos to use in future applications and to show off on social media.

What about you?

I’d love your feedback on what has worked for you! Or maybe from a customer’s point of view if you love visiting craft fairs and makers markets. Please comment below.

felted mobile, needle felting, Uncategorized

A Bespoke Nursery Mobile

I love it when I get custom requests as it really grows me creatively. I have made a sheep mobile before (see earlier blog posts) but something so far has prevented me from offering it to the world. When asked if I made needle felted baby mobiles from someone who had seen my work at a craft fair, I jumped at the chance to make one. It is something that has been simmering at the back of my brain to do for a while now.

We messaged via Instagram direct messages to discuss a theme and colour scheme. I have quite a collection of British and merino wools and was able to show a few possible colour combinations before we arrived at a chosen colour palette.

My client wanted an underwater theme so we discussed her favourite creatures and then I started work on a few shapes to show her. I made a couple extra than I knew was going to fit on the mobile to provide choice, and because I was having so much fun making them!

some sea creatures in the making…

These shapes were felted using Shetland batt wool. Once I checked that my client was happy with the way things were going, I began to get creative with the finished designs, adding colour , pattern and features. I love watching their characters emerging!

Favourites were selected (which ones would you have chosen?)

Next step was to choose a mobile frame. For my sheep mobile I hand wove strips of willow. I wanted to turn to my fellow creatives for this one though and researched some frames from Etsy sellers. I showed my client some options and this gorgeous wooden handcrafted one was selected.

Stringing them up using the unbleached string provided with the mobile, was a lot easier than I anticipated and I soon had a complete mobile to show.

All done, photographs taken, videos made, it was time to box it up. And as the client was local, ready for collection!

Custom orders

If you would like me to work with you to make a cute and quirky, bespoke hand made and felted mobile, maybe you are expecting yourself or a grandparent-to-be, please get in touch. I would love to chat ideas with you! Please complete the contact form or find and message me on social media.

@feltfabulousgifts

custom dogs, felting with fur, needle felting

Felting with Fur – part 1

I’ve just received another precious package through the post. A package of fur that from a dog who has now passed on, fur for me to felt with.

I have felt very privileged recently to be able to create for people who have lost a pet. Like most needle felters, I usually use sheep’s wool, but sometimes I use dog’s fur to felt with.

Dog fur can be surprisingly easy to felt with! Obviously the softer and fluffier the better, the soft undercoat that comes from grooming is the best fur for me to use.

This blog post is about the making of a dog named Bruce.

Felted Bruce started with a pipe cleaner armature to which I added a base layer of felted Shetland batt wool. I then started to add Bruce’s fur as a top layer. I started this even before I had finished off the dog’s feet as I was anxious to see just how feltable it was!

As well as the finer, more wiggly hairs from the soft undercoat, the fur contained a lot of longer straighter hairs that are more difficult to felt in. These hairs tend to stick out and as this was a smooth haired dog I took a bit of time felting over the body in an effort to get it to become smoother. The dog was mostly one colour but had some darker shades and some white patches. I initially tried to use the darker and lighter bits of fur to replicate the these but as the white parts of him did not look white enough, I added some white wool here. I also used wool for his eyes, nose and mouth.

To finish him I snipped off a lot of the sticky out hairs with scissors.

The way and the extent to which I use the dog fur depends on the amount, colouring and consistency of the fur. I like to keep in touch with the customer and let them know how I am using the fur and where I have used wool. Any left over fur is then returned with the dog.

Further blog posts will follow regarding felting with fur including one where I look at the difference between dog fur and dog hair!

custom dogs, needle felting, Uncategorized

Hello 2022!

And Hello To You!

Bedlington Terrier made using Wensleydale wool and other British wools

It’s been a funny old couple of years but a new year for me feels like having a clean slate, a fresh start, a new enthusiasm, a time to revisit and hopefully rethink and expand on my goals.

This year I will be exploring new British wools (I’ve just fallen in love with Wensleydale wool locks) and creating new dog breeds.

Let me know in the comments or using the contact me page if you would like to see a particular breed or would like to order a custom replica of your pet.

Also new for this year I plan to add a shop section , but for now, please use my Etsy shop for browsing and purchasing by clicking this button.

Bye for now!

Uncategorized

Sculpting with wool

In this post I write about the pleasures of sculpting with wool and how I build up a dog’s body shape with batt wool.

Pipe cleaner armatures

Recently I’ve really got into the pleasures of sculpting with wool.

I make custom dogs and nowadays I always start with a wire armature. Currently I use robust pipe cleaners to make it with. I made the mistake of buying “party” pipe cleaners as they were cheap and I thought I was getting a bargain! Lesson learned – they’re still lying there unused as they were far too flimsy! So my tip is, if you’re making an armature with pipe cleaners, try and buy those that are designed for the purpose.

I begin by felting a layer of Shetland batt to cover the wire. Batt wool is quite tangly and easy to bulk up and create shape with. The Shetland batt I use is available in four natural undyed colours and I choose the shade nearest to the dog’s natural colour.  I like to use British wool where I can from an animal welfare perspective.

Now with a layer of batt, the colour chosen to be close to the dog’s colouring

And then comes my favourite part, the shaping . I love that with needle felting I am not just mashing fibres together but sculpting . Applying extra stabs here and there enables even subtle shaping to appear.

I can’t show you the finished results of these two dogs yet as they are for a wedding cake for an autumn wedding and I don’t want to publish them before the big day!

With named breeds, I find it helps if I look online to see a skeleton first. I can make the armature to the skeleton shape and it just ensures I get proportions correct.

This Basset Hound has quite a different body shape.

The batt layer is nearly complete
The finished Basset Hound

Visit my custom dog page for more information on my customised dog miniatures or message me.

They are also available to purchase via my Etsy shop, Felt Fabulous Gifts.

Thanks for reading! x

Edit -The completed wedding cake topper dogs – safe to show now that the wedding has happened!
felted mobile, needle felting

Getting there with my sheep mobile!

 It’s taking shape…

So I weaved some willow hoops, I used up all the sticks I’d soaked and ended up making three.

(Probably should have soaked the sticks for longer but I was soaking them in the bath and the youngest needed a shower!)

fb_img_15325056432282101965039.jpg

It was time to start attaching the felted sheep and clouds.

Sheep and clouds went onto the larger hoop first.

Then I attached the two hoops together ( this was the tricky part- balanced and level being hard to achieve) .

The stars threaded easily onto the invisible thread. In the last post I wrote about being unable to thread them with the ribbon, must have been the finer needle I was able to use, and attached two to the upper, smaller hoop.

The sheep, clouds and stars are now on three levels. Not my original intention but it makes sense right?

I’d made three stars but I think it will have to be two or four now to achieve balance…?

It’s something I’ll come back to, sometimes you need to step away from a project and come back with fresh eyes.

I also need to obviously trim the ribbons and neaten it up that way, in case your thinking  “she’s left it a bit messy looking”.. but will leave that to the very end.

Anyone else out there making a mobile? How’s it going for you?

I’ll keep you posted guys…

Thanks for reading! x

needle felting

A commission leads to a cacti obsession…

Those little pots are so cute!

I hadn’t thought of making cacti before, I usually make animals when I needle felt, but that’s the beauty of a commission make.

When a customer requested two cacti and a hedgehog, naturally I was ready to have a go!

I sourced my cute little terracotta pots from Elfkendalfairies on Etsy.

First job was to put in the “soil”. I used Shetland batt in natural Moorit brown.

Next I collected all my green wools, then researched some photos of cacti before getting stuck in.

You can see from the photographs that it’s just a matter of making sausages, putting them together and then adding ridges.

I needled it into the existing soil and then as it was now all squished down, topped it up with some more batt wool.

The second cacti was a round one.

The pale yellow green wool is quite wiry in texture so is great for the hairy spikes.

I loved making these and am making more, this could be the start of a new direction for Felt Fabulous!

If you would like some, have a peep in my Etsy shop or get in touch.

Perfect gift for that friend who keeps killing off all their real plants!


20180724_1128231335086715.jpg


Thanks for reading!


needle felting

Making a felted sheep mobile

Making progress…

So I needle felted the parts of the mobile a while ago. I love making Herdwick sheep using Herdwick wool and I thought that some mini ones would be just right for a mobile. Counting sheep to get to sleep and all that.

I also made some clouds and added mohair fleece to make the texture curly and fluffy.

Stars were the final felted item, I actually used soya bean top which I’d bought in my exploration of vegan alternatives to wool. I found this really tricky to needle felt with but really love the finished result. All golden and super soft.

I left this project for a while, unsure of what to thread them onto the mobile with and mulling over the general structure. As you can see from the cloud picture, I went with white ribbon in the end. This threaded through my felted makes surprisingly easily , until I got to my soya bean stars!

No way would that needle and ribbon get through. I’m trying invisible thread next I think.

I also need to get up into that loft to get some willow sticks down to weave some hoops.

I’ll hopefully post soon with an update.

Thanks for reading!

needle felting

Hardy Herdwick sheep!

Felting sheep with Herdwick wool

You may have read in a previous post that I try to buy only British wool now. This is due to the high standards of animal welfare in British sheep farming and shearing. Included in a recent batch of British wools that I ordered from World of Wool, was 100g of grey Herdwick wool.

I decided to look more into the breed of  Herdwick sheep and discovered their sweet little faces, their attractive colouring and the fascinating facts behind how they live!

See the source image

Herdwick sheep are born with black wool and then as adults have a grey or brown body with white face and legs.

Herdwick facts

They are very hardy sheep that live on the fells of the Lake District, England.

The lambs learn about the area where they should be grazing from sticking close to their mothers. They have been bred for hundreds of years to be territorial,  they do not stray from their area and fences are not required. They are “heafed” to the fell.

Herdwick sheep help to maintain the beautiful rugged landscape of the Lake District by grazing in otherwise inaccessible areas.

“Herdwyck” means sheep pasture. They have been recorded as far back as the 12th century.

Beatrix Potter , the children’s author, was an expert Herdwick breeder.

Felting a Herdwick

I have made some Herdwick sheep in the past but discovered a renewed desire to felt some after a lovely weekend away in Ambleside in the Lake District. On the journey up we saw many sheep in fields and I was looking forward to seeing my first Herdys! For me it was like going on safari and being excited to see my first giraffe!

On a walk into fields in Ambleside, I saw some sheep with the characteristic grey colouring. So exciting!! (Well for me, husband didn’t seem as impressed)


DSC02555.JPG
Actual real life Herdwick sheep!


DSC02553.JPG
Some wool! Although tempted, I left it where it was.

Back home I got my wool out and got stuck in. I decided to make three at once so I made three heads using white Shetland batt and three bodies in grey Shetland batt. I then covered the bodies in grey Herdwick wool and the heads in white Bluefaced Leicester wool.

DSC02559.JPG

The Herdwick wool has long fibres and is rough in texture and wispy so might not suit felters who like everything smooth and neat, but I love the fact that it feels and looks so natural.

I added features to the face and felted the head onto the body.

dsc02560.jpg

I made four little legs, again from white Shetland batt, and again adding a layer of Bluefaced Leicester wool. This is more time consuming but the batt is so much easier to felt larger shapes with due to its fuzzy nature, it also works out a bit cheaper.

DSC02561.JPG

I felted the legs on and felted on extra grey Herdwick wool to cover any white bits around the joins of the legs and heads. ( I might be better putting the Herdwick wool on last next time)

Here’s the finished result

dsc02563.jpg

This one is for sale in my Etsy shop.